Content Query Web Part – Part One: Using Custom XSL Style Sheets
Some people have said the Content Query Web Part (CQWP) is dead. It is not dead and is still very much alive and used especially in O365 SharePoint sites. Also, the Content Search Web Part (CSWP) is not available in O365 (however should be available in the near future) so the CQWP is the only OOTB option for rolling up content.
This is the first post of a multipart series on customizing the CQWP. Part one includes the steps to use customized XSL style sheets.
XSL Style Sheets
There are 3 XSL style sheets used for the CQWP which include the following:
[table width=”700″ colwidth=”20|100|300″ colalign=”left|left|left” border=”1″]
File,Location,Purpose
ContentQueryMain.xsl,\Style Library\XSL Style Sheets\ContentQueryMain.xsl,Contains the logic that generates the calls to the Header and Item templates for each item.
ItemStyle.xsl,\Style Library\XSL Style Sheets\ItemStyle.xsl,Templates that define how to display the items returned by the query.
Header.xsl,\Style Library\XSL Style Sheets\Header.xsl,Templates that define how to display the headers (group by).
[/table]
Create Custom XSL Style Sheets
It is best practice to create your own custom XSL style sheets and link them to the CQWP instead of modifying the OOTB ones.
- Open your site in SharePoint Designer 2013.
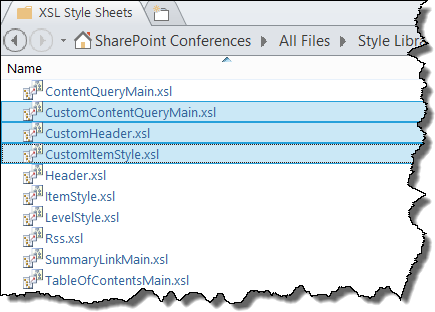
- Navigate to All Files > Style Library > XSL Style Sheets.
- Create 3 XSL files:
- CustomContentQueryMain.xsl
- CustomItemStyle.xsl
- CustomHeader.xsl
- Copy the source from each original file to the corresponding file.
- Save and publish.
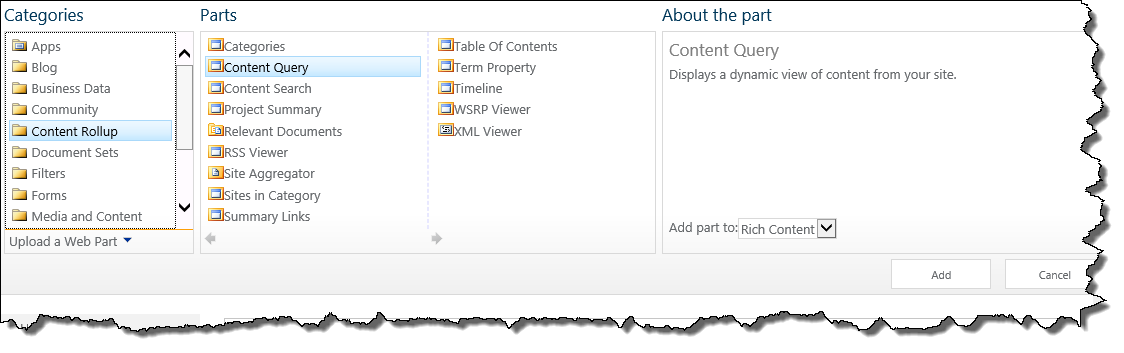
- Open the site in the browser and add a CQWP to the page.
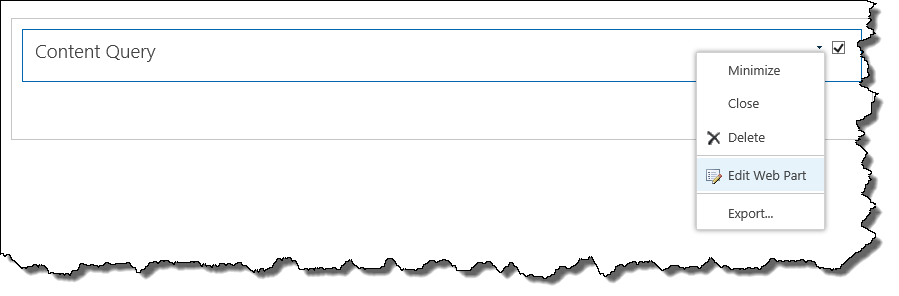
- Edit the Web Part properties and change the Title to Custom Content Query.
- Export the Web Part and save it locally.
- Open the Web Part in a text editor. I use Notepad ++.
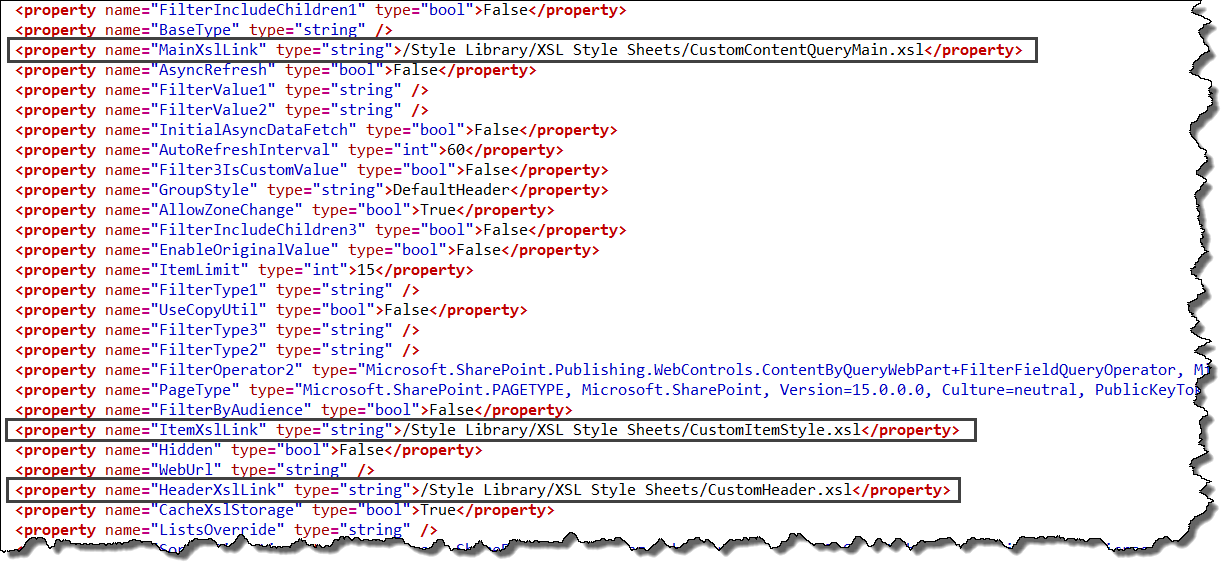
- Modify the MainXslLink, ItemXslLink, and HeaderXslLink properties setting it to the location of your custom XSL files.
<property name="MainXslLink" type="string">/Style Library/XSL Style Sheets/CustomContentQueryMain.xsl</property>
<property name="ItemXslLink" type="string">/Style Library/XSL Style Sheets/CustomItemStyle.xsl</property>
<property name="HeaderXslLink" type="string">/Style Library/XSL Style Sheets/CustomHeader.xsl</property>
- Save the .webpart file.
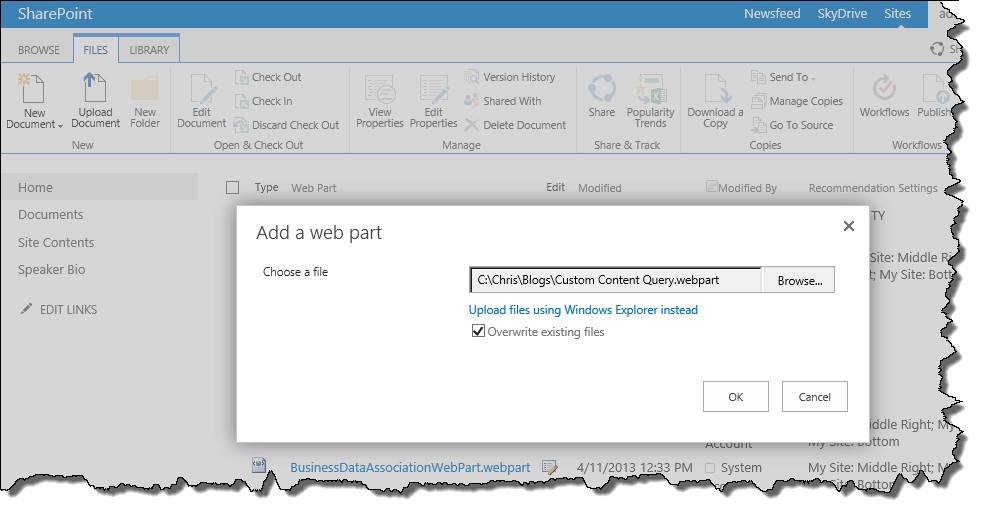
- Go back to your site and navigate to the Web Part Gallery. Site Actions > Site Settings > Web parts (Web Designer Galleries).
- Upload your customized .webpart file.
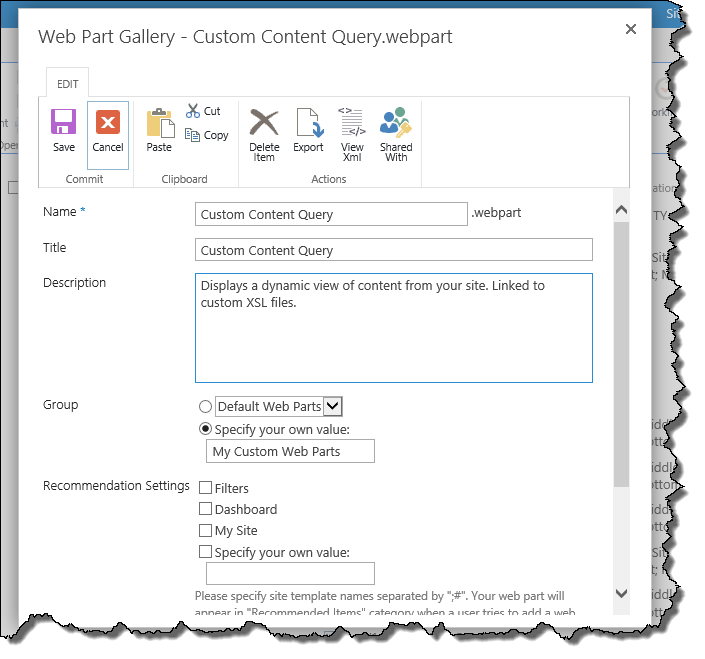
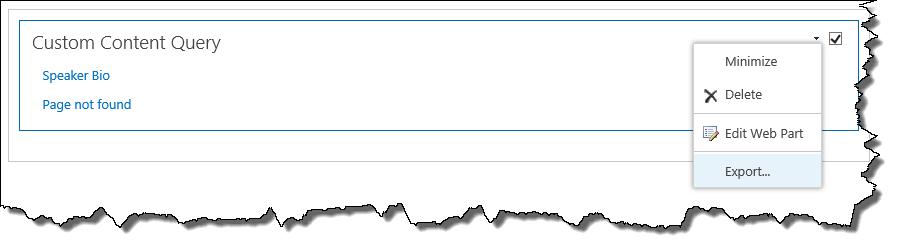
- Now you can add your custom CQWP to a page.
- The Web Part is linked to your custom XSL files and any changes needed would be made to the custom XSL files (CustomContentQuery.xsl, CustomItemStyle.xsl, and CustomHeader.xsl) instead of the OOTB files.